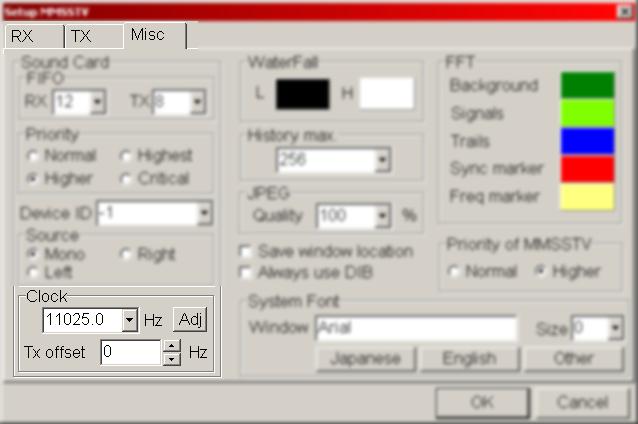
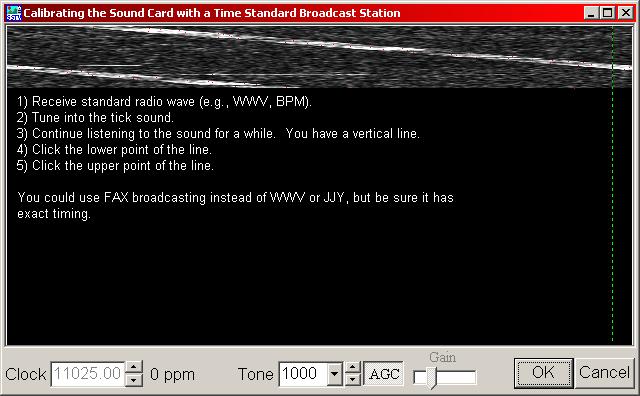
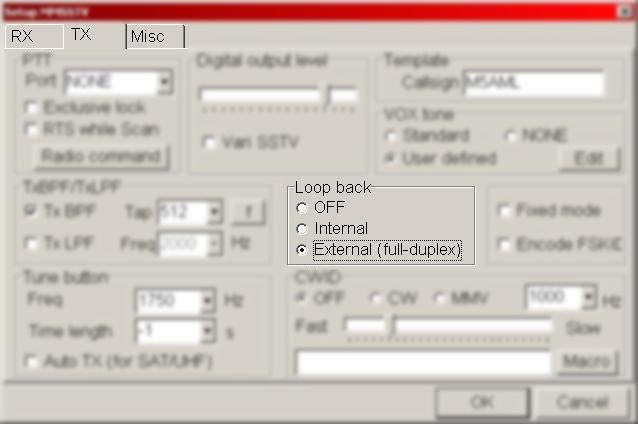
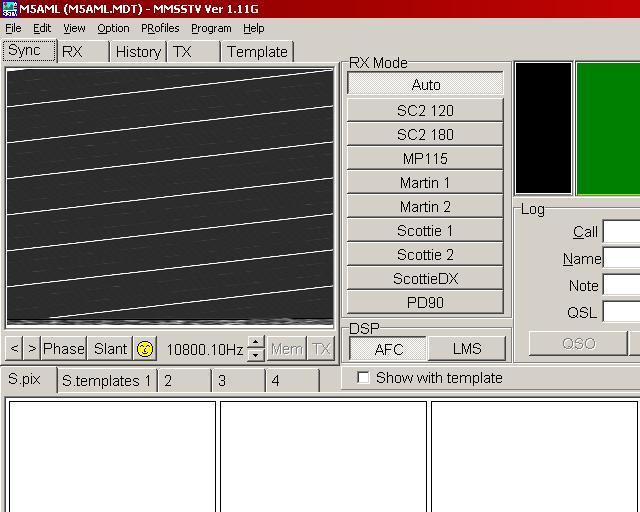
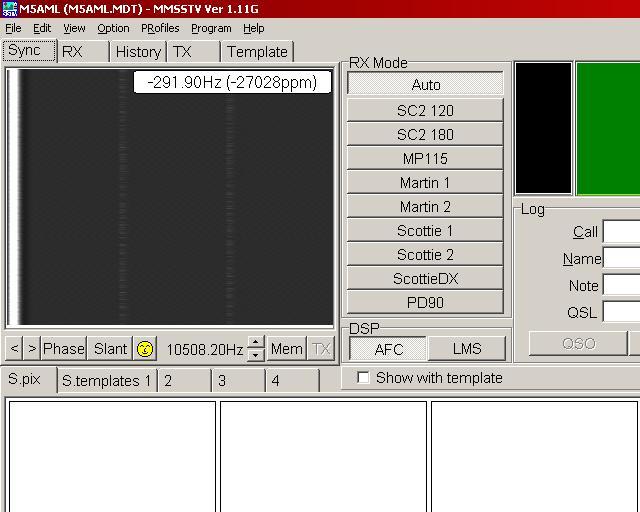
The
software I use is the highly popular MMSTV by Mako Mori. The
software is free and runs in Windows, using the PC soundcard for SSTV
input and output. The software supports
all the common SSTV modes such as Martin, Scottie, and Robot.
MMSSTV also includes more specialised systems such as
high definition, and experimental narrow bandwidth modes.
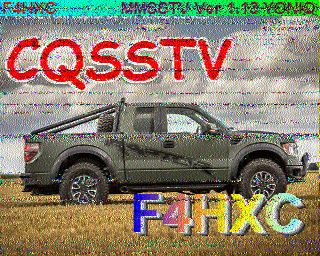
The image below is an
example of four SSTV pictures I received during a QSO with YO2MFZ
Each picture is 320 x
256 pixels - not
high quality but a good trade-off between picture resolution and
transmission time
As
mentioned above, higher resolution SSTV modes
are supported by MMSSTV but they are rarely used.
Traditionally
Martin 1 and Martin 2 modes are usually used by European stations and
Scottie 1 and Scottie 2 are used by North American and Asian stations.
It doesn't really matter which you use as long as you use the
same mode as the other station(s) in your QSO - this is basic SSTV
etiquette.
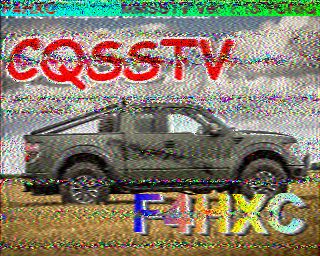
In
multipath conditions Martin and Scottie modes do not perform well so it
is better to use the MP or SC2 modes on 80m at night. SC2 120
and SC2 180 are the most popular multipath tolerant modes.
The images below were received on 80m within a few minutes of each
other over the same path. Ignoring the noisy lines - probably due
to QSB - it can be seen that the SC2 180 image has good vertical
synchronisation and no herringbone pattern unlike the Scottie 2 image.
| SC2 180 |
Scottie 2 |
 |
 |
Due to the small size of the WARC bands (30m, 17m and 12m) narrow bandwidth SSTV (N-SSTV) is recommended for use on those bands.
Common
SSTV frequencies in Europe are 3.730MHz, 7.165, 14.224 to
14.239MHz, 21.334 to 21.346MHz, 28.680MHz +/-. SSTV
has also been heard at the top end of 20m and 17m. Sadly the
3.781MHz daily SSTV weather net has moved to DRM and the
pictures have a fuzziness caused by excessive .jp2 compression. On
HF, SSTV should be transmitted in LSB on frequencies below 10MHz and in
USB above 10MHz - the same as voice. On 2m frequencies between
144.500 and 144.600MHz FM are used in UK and can be quite busy at times
in the English Midlands.
The latest version of MMSSTV can be downloaded from
the web site HERE.
N-SSTV Group (Narrow SSTV) web site HERE and on Facebook.